First Firmware Installation
Automated Translation
This documentation has been automatically translated from Polish. While we strive for accuracy, some nuances may be lost in translation. If you notice any errors or unclear passages, please refer to the Polish version or contact the author.
Note: This manual uses Polish screenshots, but the Firmware itself (Admin panel), on-screen messages shown on the LED display, and the Firmware uploader website are all available and translated to English. The firmware will display English messages and have an English GUI.
First Firmware Installation
This guide is for brand-new ESP32 devices that don't have the Akszon LED Skaut firmware yet. If your device is already running and you just want to update it, go to OTA Updates.
If you bought the board online, it probably doesn't have firmware (or has some example program like making an LED blink). If you received or bought the controller from me, it probably already has the firmware, but there might be a newer version – you can update using this same procedure or do an OTA update.
What You Need
- Controller board
- USB-C cable to connect the device to your computer. The cable must be a proper data transfer cable! Some cables are "charging only" – they won't work!
- Computer with Google Chrome browser and internet access.
Step 1: Open the Firmware Upload Page
Go to https://firmware.cukrzycowy.pl/, which was created specifically for easy device programming.
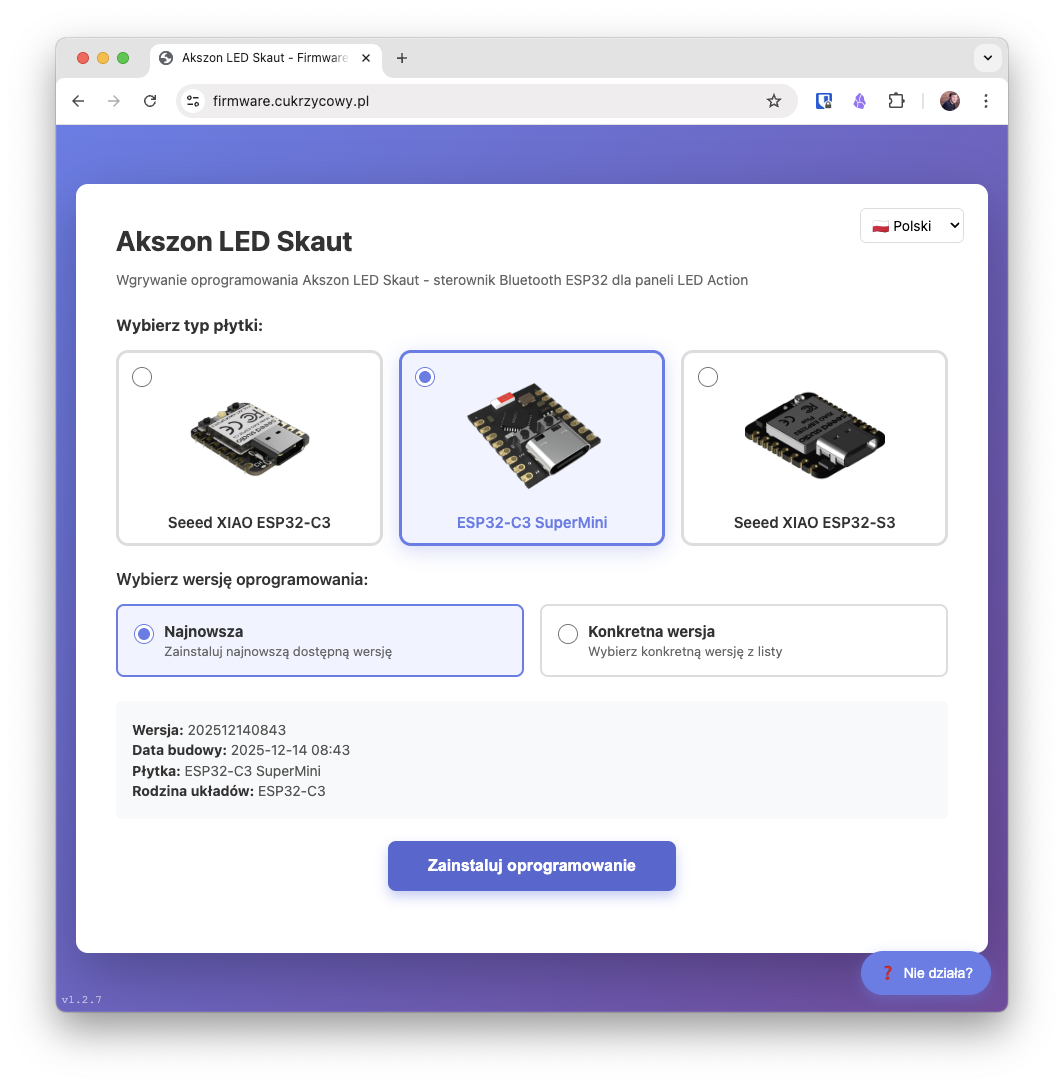
Step 2: Select Your Device Model
On the page, you'll see a section allowing you to select your ESP32 board model. Choose the one you have (e.g., ESP32-C3 SuperMini).
Step 3: Choose Firmware Version
After selecting the board, a firmware version selection option will appear.
- Latest version (recommended): By default, "Latest version" is selected. This is the best choice for most users.
- Select a specific version: If for some reason you need an older version, you can select it from the list.
Step 4: Put the Device in Programming Mode
This is the most important step. For your computer to program the device, it must be started in a special mode.
-
Connect one end of the USB cable to your computer, and place the other end conveniently on your desk, next to the board. Remember to use a USB-C cable for data transfer! Some cheaper and thinner USB cables only have power lines and won't work!
-
On the board, find two buttons:
BOOT(orB) andRESET(orRorEN). If you have a board in the enclosure I prepared – it will be more convenient because the button is extended to the enclosure and "enlarged." If you have a "bare" board, use your fingernail or the flat insulated, non-metallic part of a pen. Be careful not to break off small components on the board! -
Press and hold the
BOOTbutton.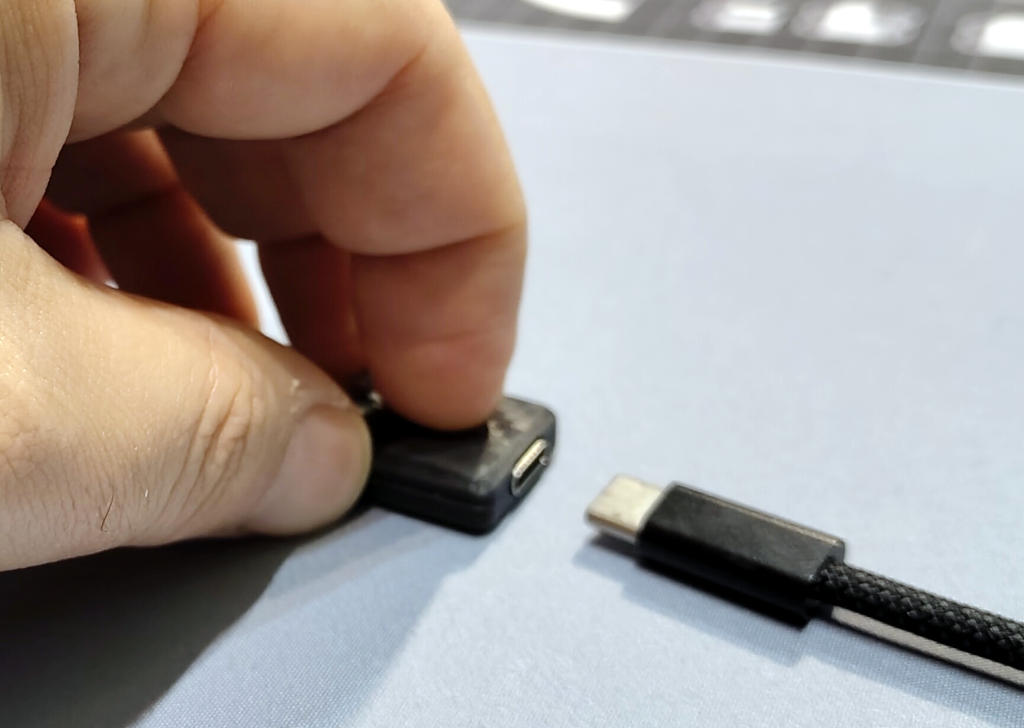
-
While holding the button, connect the other end of the USB-C cable to the board.
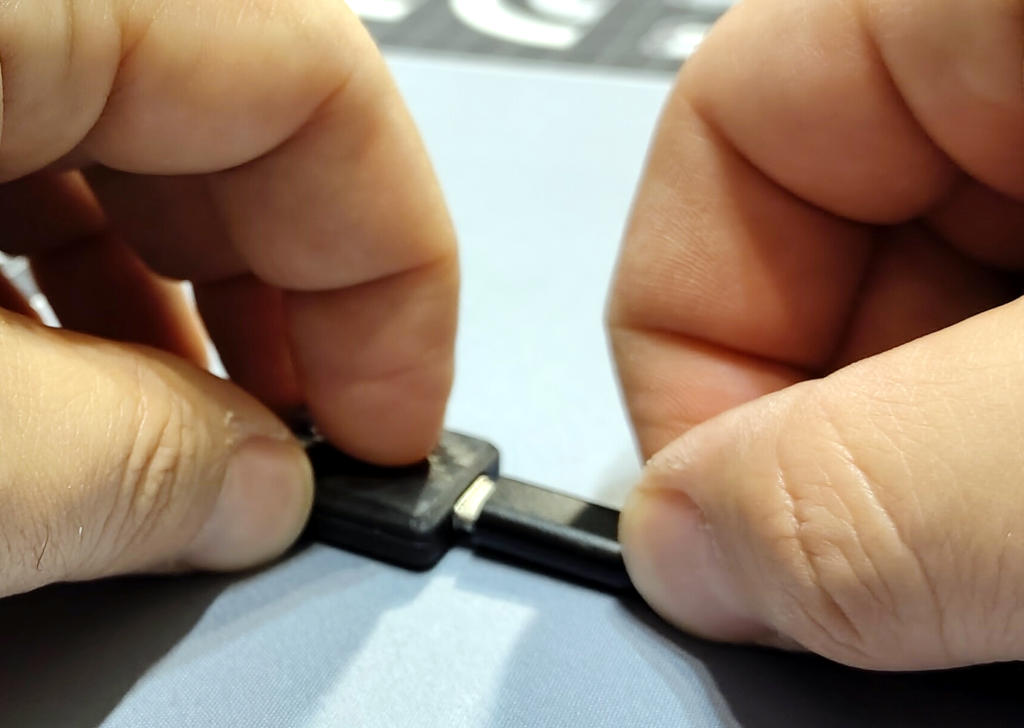
-
After a moment, release the
BOOTbutton, while the USB-C cable is still connected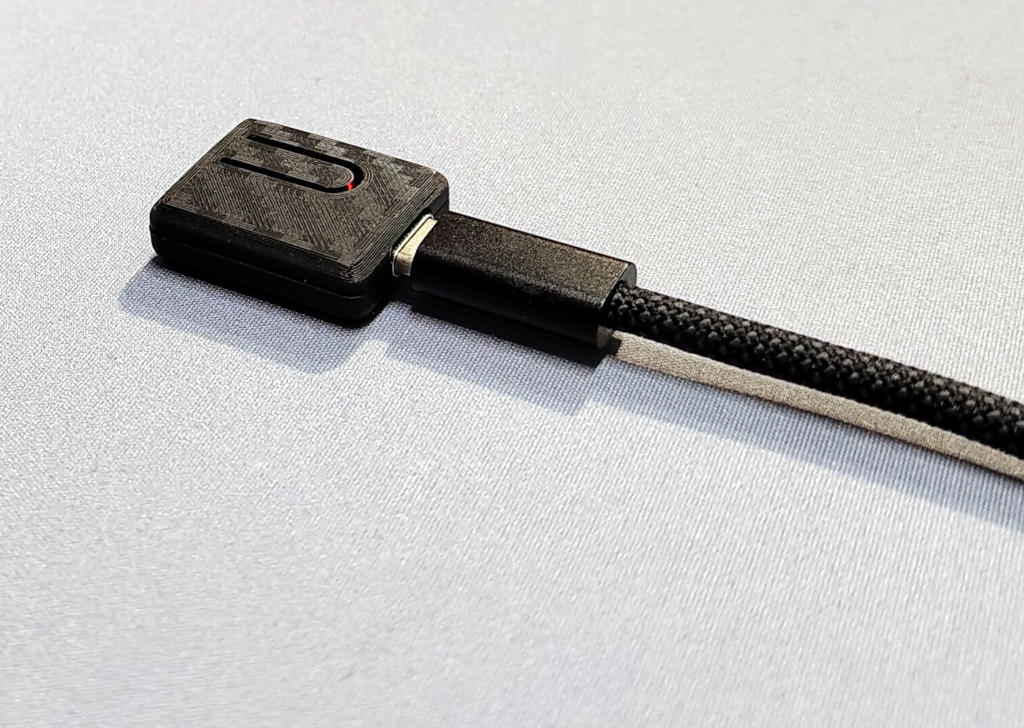
If you have trouble locating the buttons, click the "Help" button on the uploader page to see visual hints.
Step 5: Install the Firmware
- On the website, click the purple Install Firmware button.
- Your browser will display a window with a list of available serial ports (COM).
-
Select the port to which your device is connected (usually described as
USB-SERIALor similar) and click "Connect".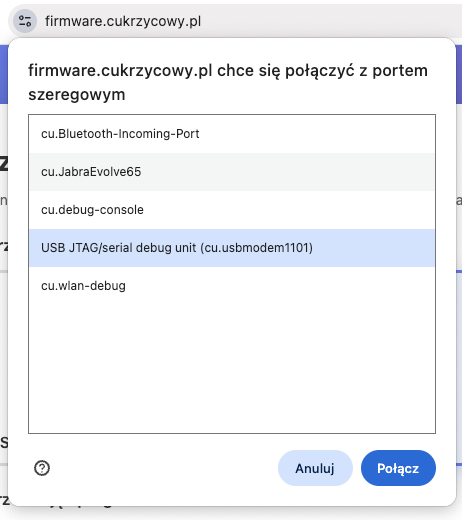
Sometimes, especially on macOS, there will be more devices listed. Choose one that has
serial,JTAGin the name. Or – first disconnect all other devices (including wireless ones). -
Select the option
Install akszon-led-skaut
-
If you're just updating the firmware, continue by clicking
Next. If you checkErase device– all device memory, including settings, will be erased! You usually don't need to check this unless your board has configuration/startup problems or previously had a different program.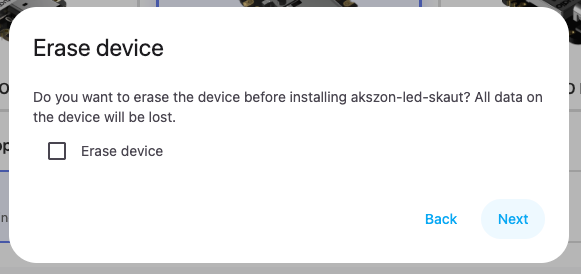
-
Verify the firmware version is correct and start uploading by pressing
Install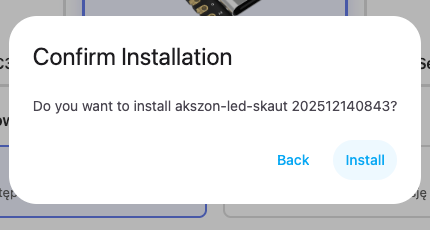
-
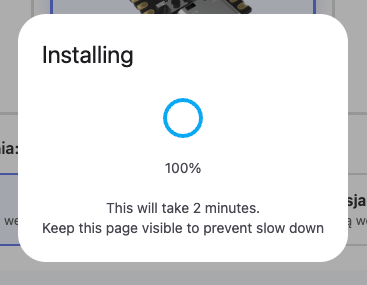
The installation process will begin. You'll see a progress bar. Don't disconnect the device! Wait several dozen seconds for the firmware to upload. If an error occurs at this stage – it's possible the board wasn't properly put into BOOT mode – start from step #4
-
After installation completes, you'll see a success message.
Congratulations! Your device now has the firmware. You can now disconnect it from the computer and connect it to the final power source.
Now proceed to the next step: First Configuration.